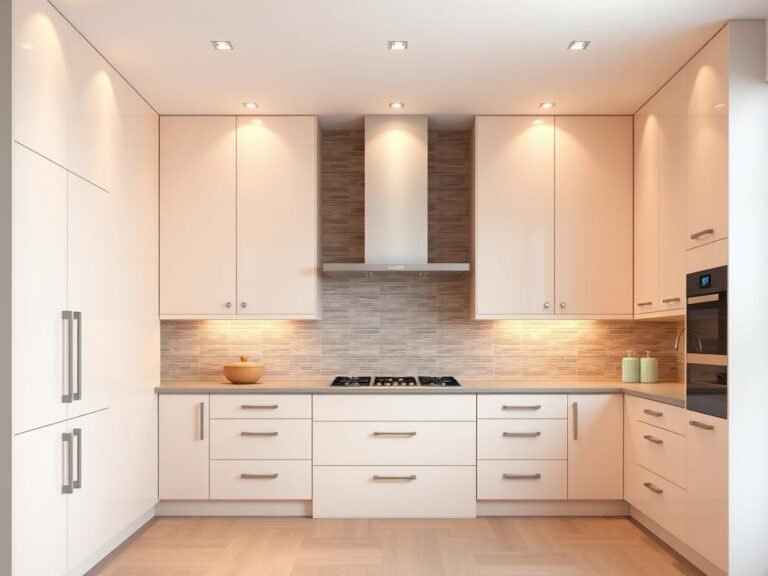

Have you ever wondered why some kitchens feel effortlessly functional while others seem awkward to use? The secret often lies in the placement of cabinet hardware. It’s not just about aesthetics; it’s about creating a space that works seamlessly for you.
Planning the positioning of your cabinet hardware is a critical step in any renovation. Whether it’s a cabinet door or a drawer, the right placement enhances both usability and style. Recent projects highlight how thoughtful decisions can transform a kitchen into a cohesive and practical space1.
Think of hardware as the jewelry of your kitchen. It’s the finishing touch that ties everything together. Balancing design and function ensures your cabinets remain beautiful and easy to use. For example, during a basement kitchen renovation, strategic hardware placement made all the difference2.
Key Takeaways
- Cabinet hardware placement impacts both functionality and design.
- Planning ahead ensures a cohesive and practical kitchen layout.
- Hardware acts as the finishing touch, enhancing overall aesthetics.
- Balancing design and function is essential for usability.
- Real-life examples highlight the importance of strategic placement.
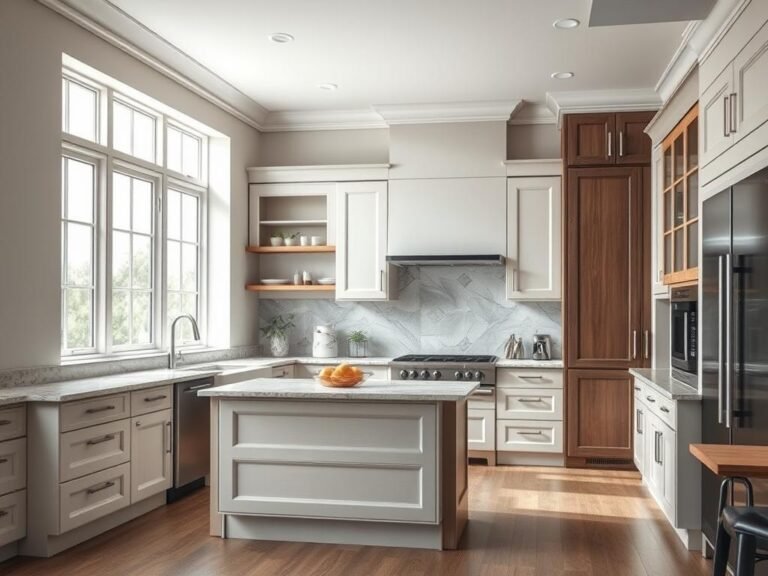
Understanding the Basics of Cabinet Hardware
The right hardware can elevate your kitchen’s design while improving its practicality. Whether you’re renovating or starting from scratch, understanding the basics of cabinet hardware is essential. It’s not just about choosing between knobs and pulls; it’s about creating a cohesive look that enhances functionality.
Exploring Knobs versus Pulls
Knobs and pulls are the two most common types of cabinet hardware. Knobs are compact and work well for smaller doors, while pulls offer a firmer grip, ideal for larger drawers. For drawers 24 inches or wider, double hardware is recommended for better balance3.
When deciding between the two, consider both aesthetics and usability. Knobs are often centered on the rail or stile of cabinet doors, while pulls are typically installed near the top for easier access3. Both options come in various sizes, with 1-1/4″ knobs and 3-3/4″ pulls being popular choices4.
Importance of Consistent Finishes and Materials
Consistency in finishes and materials is key to achieving a harmonious look. Whether you choose polished nickel, antique brass, or matte black, keeping the finish uniform across all hardware creates a polished appearance. Mixing metals can work, but it’s best reserved for accents rather than cabinetry3.
For a modern design, longer pulls that span nearly the entire width of cabinets are a great option. These not only look sleek but also enhance functionality, especially for deeper drawers4.
| Hardware Type | Best Use | Recommended Size |
|---|---|---|
| Knobs | Small doors, centered placement | 1-1/4″ |
| Pulls | Large drawers, top placement | 3-3/4″ to 6.5″ |
By understanding these basics, you can make informed decisions that balance design and functionality. Thoughtful hardware placement ensures your kitchen remains both beautiful and practical.
Essential Tools and Materials for Your Hardware Project
Getting your cabinet hardware project right starts with the right tools and materials. Whether you’re updating your space or starting from scratch, having the correct equipment ensures a smooth and professional installation. This section will guide you through gathering the necessary items and choosing tools for precise results.

Gathering the Right Cabinetry Hardware
Selecting the ideal hardware pieces is crucial for both functionality and design. Knobs and pulls come in various sizes and styles, so it’s important to choose options that complement your space. For drawers less than 16 inches wide, one centered knob is recommended, while wider drawers benefit from two knobs placed in the outer thirds5.
When it comes to pulls, the 1/3 rule is a helpful guideline. This suggests selecting a pull that is 1/3 the height of cabinet doors or 1/3 the length of drawers for visual balance6. Consistency in placement throughout your space ensures a cohesive look and enhances usability7.
Choosing Tools for Accurate Installation
Accurate installation requires the right tools. A 3/16-inch drill bit is essential for creating holes for hardware, and 8/32-inch screws are commonly used for secure attachment5. Using a cabinet hardware template can simplify the marking process, ensuring precise placement for both knobs and pulls6.
For added protection, apply tape to the back of cabinet doors before drilling to prevent wood splitting5. These small steps can make a big difference in achieving professional results.
- Choose hardware that complements your design and meets functional needs.
- Use the 1/3 rule for pull placement to ensure visual balance.
- Invest in quality tools like a 3/16-inch drill bit and hardware template.
- Protect surfaces with tape to avoid damage during installation.
Mastering Where to Put Knobs and Handles on Kitchen Cabinets
Positioning hardware correctly can transform the way your space feels and functions. The right placement ensures both visual balance and practical use. Whether you’re working on cabinet doors or drawers, thoughtful decisions make a significant difference.

Ideal Placement on Cabinet Doors
For cabinet doors, the placement of hardware depends on the design and size. Standard placement for knobs and pulls on upper cabinets is 2-3 inches from the bottom edge of the door8. This ensures easy access while maintaining a clean look.
On lower cabinets, hardware is typically placed 2-3 inches from the top edge8. This position provides better leverage when opening doors. For inset doors, hardware may need to be positioned further from the edges to clear the cabinet frame8.
Centering knobs on the rail or stile of cabinet doors creates a balanced appearance. Pulls, on the other hand, are often installed near the edge for easier grip8. Consistency in placement throughout your home enhances the overall style.
Effective Placement on Drawers
Drawers require careful consideration to ensure smooth operation. For drawers over 30 inches wide, using two pulls is recommended for better control and even weight distribution8. This prevents awkward opening and potential strain over time.
Smaller drawers can use a single knob or pull, placed in the center for symmetry. The 1/3 rule suggests selecting a pull that is 1/3 the length of the drawer for visual balance8. This approach ensures both functionality and aesthetics.
Placing hardware near the edge of drawers improves leverage, making them easier to open. This is especially useful in high-traffic areas like the kitchen, where ergonomic design plays a critical role9.
| Cabinet Type | Hardware Placement | Tips |
|---|---|---|
| Upper Cabinets | 2-3 inches from the bottom edge | Ensure easy access and clean look |
| Lower Cabinets | 2-3 inches from the top edge | Provides better leverage |
| Drawers | Center or 1/3 length for pulls | Improves functionality and balance |
By mastering these placement strategies, you can create a well-balanced and stylish design in your room. Thoughtful positioning enhances both usability and aesthetics, making your home more functional and visually appealing.
Step-by-Step Installation Guide
Installing cabinet hardware may seem simple, but precision is key to achieving a polished look. This guide walks you through each step, ensuring your project is both functional and visually appealing.
Planning, Measuring, and Marking Your Cabinets
Start by selecting the right hardware size for your cabinets. For smaller drawers, a single knob centered horizontally and vertically works best10. Larger drawers benefit from two knobs placed in the left and right thirds10.
Use a template to mark the exact placement of your hardware. This reduces measuring time by 50% and ensures consistency across multiple doors11. Always double-check your marks to avoid misalignment.
Drilling, Aligning, and Securing Hardware
Drill 3/16-inch diameter holes for the screws, ensuring they align with the cabinet rail11. Use a power drill for efficiency, as it increases installation speed by up to 70% compared to manual tools11.
Secure the hardware with screws, but avoid over-tightening. Over-tightening can increase the risk of cracking the cabinet door by 20%11. For thicker doors, use the longer screws provided with your hardware11.
Final Adjustments for Functionality
After installation, test each handle and knob for smooth operation. Adjust the placement if needed to ensure consistent alignment and ease of use. This step is crucial for achieving both functionality and aesthetics.
Remember, updating cabinet hardware can enhance the overall look of your space. Approximately 75% of homeowners report a significant improvement in their kitchen’s appearance after such updates11.
| Step | Key Action | Tip |
|---|---|---|
| Planning | Select hardware size | Use a template for accuracy |
| Drilling | Align with cabinet rail | Avoid over-tightening screws |
| Adjustments | Test functionality | Ensure smooth operation |

Customizing Your Kitchen Design with Hardware Options
Customizing your space with unique hardware choices can elevate its style and functionality. Every part of your cabinetry, from the bottom to the top, plays a role in creating a cohesive design. By exploring different options, you can achieve a look that’s both practical and visually appealing.

Mixing Knobs and Pulls for Visual Interest
Combining knobs and pulls adds a dynamic element to your cabinetry. Designers recommend using knobs on doors and pulls on drawers for optimal functionality12. This blend creates a balanced look while enhancing usability.
For example, pairing sleek pulls with round knobs can add contrast and personality. Mixing metals, like polished nickel and antique brass, can also work well when applied thoughtfully13. Avoid combining metals on adjacent cabinets to maintain harmony.
Enhancing Style with Unique Combinations
Experimenting with hardware shapes and finishes can transform your space. Try using edge pulls for a minimalist look or cup pulls for a vintage vibe13. These unique combinations add character and make your design stand out.
Consider the overall style of your room when selecting hardware. Matte black fixtures, for instance, provide a subtle accent that contrasts beautifully with warm stained wood12. Every option you choose contributes to the final aesthetic.
- Mix knobs and pulls to create visual intrigue and individual character.
- Combine opposing hardware at different levels for a dynamic design.
- Use unique finishes and shapes to enhance the overall style of your space.
By blending different hardware types, you can achieve a personalized look that reflects your taste. Thoughtful choices ensure your cabinetry is both functional and stylish.
Tips for Ensuring Functionality and Aesthetics
Achieving the perfect balance between style and usability in your space starts with thoughtful hardware placement. Proper measurement and visualization are vital for creating a user-friendly design. From sketching the layout to testing placements, every step ensures your project results in a space that’s both beautiful and functional.
Choosing the Right Height and Proportional Placement
Selecting the optimal height for your hardware is key to both ergonomics and aesthetics. For upper cabinets, knobs are typically placed 2-3 inches from the bottom edge, ensuring easy access14. Lower cabinets benefit from hardware placed 2-3 inches from the top edge, providing better leverage15.
For drawers, the 1/3 rule is a helpful guideline. This suggests selecting a pull that is 1/3 the length of the drawer for visual balance15. Wider drawers, like a pull drawer, often require two pulls placed in the left and right thirds for even weight distribution14.
Visualizing the Layout Through Sketching and Testing
Before drilling any hole, sketch your layout to visualize the placement. Use a template to mark the exact positions, ensuring consistency across all doors and drawers16. This step reduces measuring time by 50% and minimizes errors15.
Test the placement by temporarily affixing hardware with adhesive putty. This allows you to assess functionality and make adjustments before final installation16. Proper spacing ensures your hardware is both visually balanced and convenient to use.
| Cabinet Type | Placement Tip | Key Consideration |
|---|---|---|
| Upper Cabinets | 2-3 inches from the bottom edge | Ensures easy access |
| Lower Cabinets | 2-3 inches from the top edge | Provides better leverage |
| Drawers | 1/3 length for pulls | Improves balance and functionality |

Conclusion
Every detail in your design plays a role in creating a space that feels both functional and inviting. By following established guidelines, you ensure each piece of hardware enhances usability and style. Thoughtful placement, even in the smallest corner, contributes to a cohesive and polished look.
Consider every combination of choices as part of your overall design. Whether it’s the height of a pull or the finish of a knob, these decisions impact the final outcome. Following expert advice ensures your project is both attractive and practical17.
Take action and confidently apply these insights to your next project. Every person in your home will appreciate the attention to detail. With careful planning, you can create a space that’s as functional as it is beautiful.