Glass cabinet doors are a timeless addition to any home, offering a touch of elegance and functionality. They allow you to showcase your favorite dishes, glassware, or decorative items while adding depth and light to your space. However, as styles evolve or privacy needs arise, you might find yourself wanting to refresh or conceal what’s behind those glass panels.
The good news? Covering glass cabinet doors is a simple, affordable, and creative DIY project that can completely transform your space. Whether you’re looking to hide clutter, add a pop of personality, or create a more private atmosphere, this guide has you covered.
In this blog, you’ll learn:

- Why covering glass cabinet doors is a game-changer for home decor.
- The materials and tools you’ll need for the job.
- Step-by-step instructions for applying contact paper, fabric, or frosted glass film.
- Tips for achieving a professional finish and creative ideas to match your style.
Ready to give your glass cabinet doors a fresh new look? Let’s get started!
Why Cover Glass Cabinet Doors?
Glass cabinet doors are undeniably stylish, but they’re not always practical. Here’s why covering them might be the perfect solution for your home:
- Conceal Clutter: Glass doors can make it hard to hide mismatched dishes, pantry items, or everyday clutter. Covering them allows you to maintain a clean, organized look.
- Enhance Privacy: If you have items you’d rather keep out of sight, like cleaning supplies or personal belongings, covering your glass doors adds a layer of privacy.
- Personalize Your Space: Covering your cabinet doors is an opportunity to infuse your home with color, pattern, or texture that reflects your unique style.
- Budget-Friendly Update: Instead of replacing your cabinets, covering the glass is a cost-effective way to refresh your space.
Imagine a family who loves their kitchen’s glass cabinet doors but wants to hide their mismatched dinnerware. By covering the glass with a stylish frosted film or patterned contact paper, they can maintain a chic look while keeping their kitchen functional.
Materials and Tools You’ll Need
Before you start, gather the right materials and tools for your project. Here’s what you’ll need based on the type of covering you choose:

For Contact Paper:
- Roll of contact paper (choose from patterns like marble, wood grain, or solid colors)
- Scissors or utility knife
- Squeegee or credit card
- Ruler or measuring tape
- Glass cleaner and cloth
For Fabric:
- Fabric of your choice (lightweight fabrics work best)
- Adhesive spray
- Scissors
- Measuring tape
- Glass cleaner and cloth
For Frosted Glass Film:
- Frosted glass film
- Spray bottle with water
- Squeegee
- Utility knife
- Glass cleaner and cloth
Universal Tools:
- Painter’s tape (for clean edges)
- Pencil (for marking measurements)
Pro Tip: Many of these materials can be found at local craft stores or online retailers like Amazon, often at budget-friendly prices.
Step-by-Step Guide to Covering Glass Cabinet Doors

Follow these steps to achieve a flawless finish, no matter which material you choose:
Step 1: Clean and Prepare
Start by cleaning the glass thoroughly with a glass cleaner and a lint-free cloth. Any dust, grease, or fingerprints can prevent the covering from adhering properly. For extra adhesion, you can lightly sand the edges of the glass with fine-grit sandpaper.
Step 2: Measure and Cut
Measure the glass panels carefully, noting the height and width. Add an extra inch to each measurement to allow for adjustments during application. Use a ruler and pencil to mark the measurements on your chosen material, then cut it to size.
Pro Tip: If you’re using contact paper or frosted film, peel off a small section of the backing to check the alignment before fully committing.
Step 3: Choose Your Covering and Apply
Option A: Contact Paper
- Peel off the backing of the contact paper and align it with the top edge of the glass.
- Slowly press the contact paper onto the glass, using a squeegee or credit card to smooth out air bubbles as you go.
- Once applied, trim the excess material with a utility knife for a clean edge.
Option B: Fabric
- Spray an even layer of adhesive onto the glass.
- Carefully press the fabric onto the glass, starting from the top and working your way down. Smooth out any wrinkles or folds as you go.
- Trim the edges with scissors or a utility knife for a neat finish.
Option C: Frosted Glass Film
- Spray the glass lightly with water to help position the film.
- Peel off the backing of the frosted film and align it with the top edge of the glass.
- Use a squeegee to smooth out the film, working from the center outward to remove air bubbles and excess water.
- Trim the edges with a utility knife.
Step 4: Finishing Touches
Once your covering is applied, use painter’s tape to secure the edges and ensure a clean, polished look. Double-check for any bubbles or wrinkles, and use a pin to release trapped air if necessary.
Tips for a Professional and Polished Finish
- Work Slowly: Take your time to align the material perfectly and smooth out any bubbles or wrinkles.
- Test First: Apply a small piece of your chosen material to a test area to ensure you’re happy with the look and adhesion.
- Use Painter’s Tape: This helps create clean lines and prevents the material from shifting during application.
- Troubleshoot Bubbles: If you notice air bubbles, use a pin to puncture them and smooth the material with a squeegee.
Creative Options for Every Style
The beauty of covering glass cabinet doors is the endless possibilities for customization. Here are some ideas to inspire your project:
- Contact Paper: Choose a bold pattern like geometric shapes or a subtle marble finish for a modern look.
- Fabric: Add warmth and texture with a linen or burlap fabric, perfect for a cozy, rustic vibe.
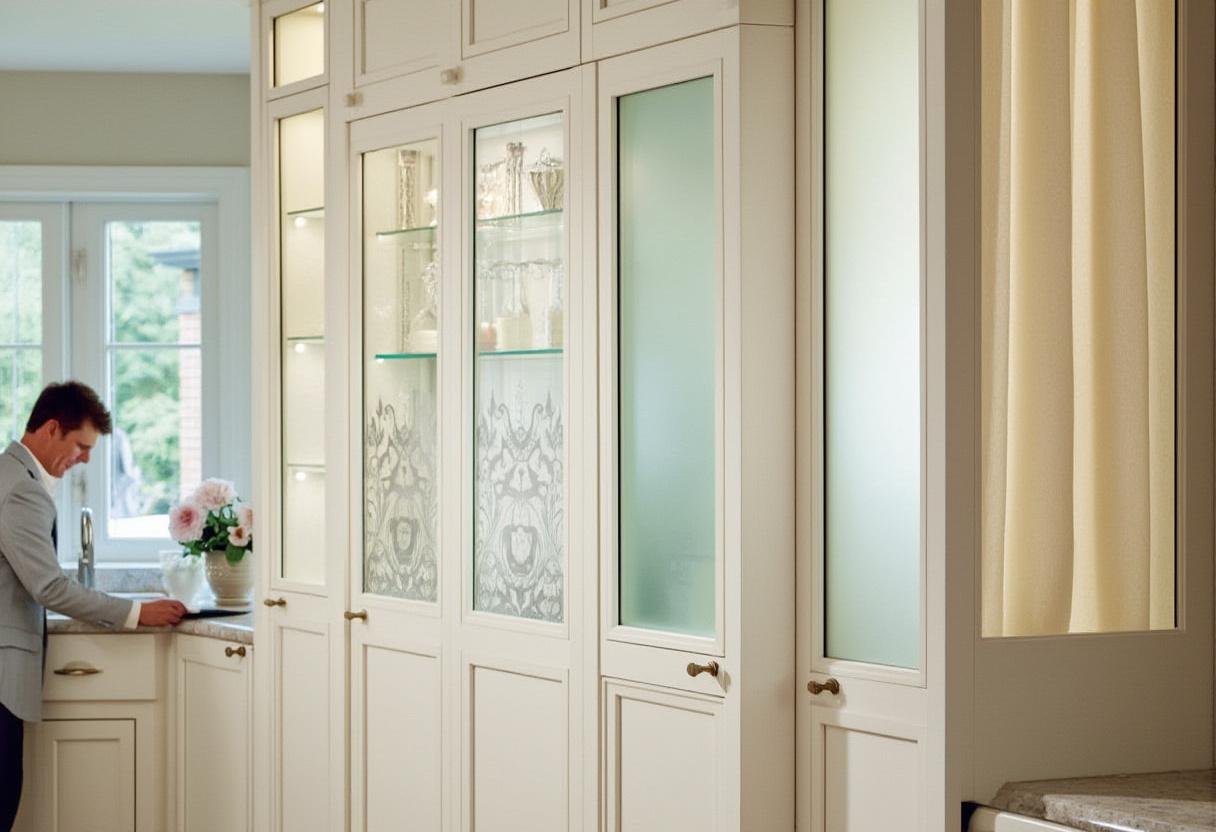
- Frosted Glass Film: Achieve a sleek, minimalist look while maintaining light flow and privacy.
Inspiration Story: One DIY enthusiast transformed her vintage china cabinet into a modern statement piece by covering the glass doors with frosted film and adding gold handles. The result? A stunning focal point that blends old-world charm with contemporary style.
Lessons from the DIY Community
Many DIYers have successfully tackled this project, and their experiences offer valuable insights:
- Alignment Matters: Take extra care to align patterns or edges, especially with contact paper or fabric.
- Patience Pays Off: Working slowly and methodically ensures a smoother finish.
- Community Support: Don’t be afraid to ask for advice or share your progress with fellow DIY enthusiasts.
Conclusion
Covering glass cabinet doors is a simple yet impactful way to refresh your space, whether you’re looking to hide clutter, enhance privacy, or add a personal touch to your decor. With the right materials, tools, and a bit of creativity, you can achieve a professional-looking finish that transforms your cabinets—and your entire room.
So why wait? Start small, have fun, and let your creativity shine. And when you’re done, we’d love to see your results! Share your before-and-after photos on social media or leave a comment below with your tips and questions.
For more DIY home improvement ideas and inspiration, explore our website or sign up for our newsletter. Happy decorating!