Did you know a simple cupboard makeover could save you thousands? This guide is for anyone wanting to update their kitchen cabinets without spending a lot. Whether it’s to make your kitchen look better or save money, learning to cover a cupboard opens up many options.
Upcycling your kitchen cabinets can cut costs by 30-50% compared to a full renovation1. You can try painting, adhesive paper, vinyl wraps, or wood veneers to give your cabinets a new look. This article will show you how to do it step by step and offer creative tips for your makeover.

Key Takeaways
- Upcycling kitchen cabinets is a cost-effective alternative to a total kitchen renovation.
- The average cost of cabinet repainting ranges from $500 to $2,500.
- Using high-quality paint can enhance the durability of cabinet surfaces significantly.
- Applying proper primer increases paint longevity by at least 60%.
- Templates for hardware installation can improve the accuracy of drilling by up to 80%.
- Removing doors or adding glass inserts can create a stylish open shelving effect.
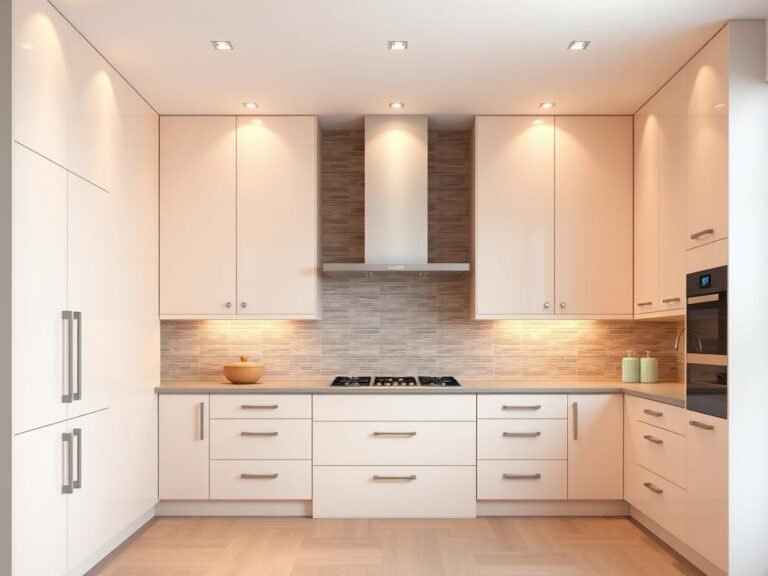
Introduction to Covering Kitchen Cabinets
Covering kitchen cabinets is a fun way to make my home look better without spending a lot. Home improvement projects, like updating kitchen cabinets, are very popular. About 55% of DIY projects are kitchen makeovers2.
I can try different ways to cover my cabinets. I can paint them, use vinyl wraps, or add wood veneers. These methods help protect and update my cabinets well.
By covering my cabinets, I can save a lot of money. I could save up to 60% compared to replacing them2. Most cabinets are made from wood or laminate. Other materials like thermofoil or melamine are also used in modern kitchens2.
About 70% of people like to paint their cabinets. It’s a cost-effective and customizable option2. For quicker fixes, adhesive paper and vinyl wraps can be put up in 2 to 4 hours. This is great for busy people2.
It’s a good time to start a project that shows off my style. It also fits with the trend of eco-friendly home improvements.
Benefits of Covering Your Cupboard
Covering my cupboards has many benefits. It changes how they look and work. It’s cheaper than redoing cabinets, which is great for saving money3.
Vinyl wrapping is quick and easy. It can be done in just one afternoon. This makes my kitchen look new fast4.
It also makes my cabinets last longer. It protects them from moisture, dirt, and scratches3.
Keeping vinyl clean is simple. Just use a damp cloth now and then. This keeps them looking good3.
Unlike paint, vinyl wraps don’t chip or peel. They can last about 10 years if cared for right4.
Vinyl is also very flexible. I can choose from many colors, prints, and textures. This lets me make my kitchen my own3.
In short, covering my cupboards makes them look better and last longer. It’s easy to take care of. It’s a smart way to update my kitchen without breaking the bank.
Assessing Your Cupboard Condition
Before I start covering my cupboard, I need to check its condition. I look for damage like scratches, dents, and peeling finishes. Not checking well can cause big problems, as 50% of DIY painting fails5 and6.
It’s important to check high-wear spots, like handles and hinges, as 50% of damage is there6. I also check if the cabinets are sturdy. About 30% might have issues like warping or loose parts6.
Cleaning is key; grease or grime can ruin up to 90% of prep work6. If my cupboard is old, I must test for lead-based paint5. By doing these checks, I boost my chances of a good cover job. This makes the finish last longer and adds value to my home7.
Understanding Your Cupboard Material
Choosing the right cupboard materials is key when updating or remodeling your kitchen. You’ll find solid wood, wood veneer, plywood, medium-density fiberboard (MDF), and laminate. Each has its own traits that affect what coverings you can use. Knowing these materials helps me pick the best coverings for my taste and budget.
Common Materials for Cupboards
Here are some common cupboard materials:
- Solid Wood: Solid wood cabinets are beautiful and strong. They cost more than plywood or engineered materials, by 20% to 50%8. Maple is known for its even look, cherry for its warm colors, and red oak for being affordable and strong9.
- Wood Veneer: Wood veneer looks great and costs 30% to 40% less than solid wood8. It’s about 75% as durable as solid wood8.
- Plywood: Plywood is made of many wood layers. It’s strong, making it a top choice for 80% of cabinet makers8. It also doesn’t warp easily10.
- MDF: MDF has a smooth surface and is 30% to 50% cheaper than solid wood8. It’s found in affordable options like IKEA10.
- Laminate: Laminate is good at resisting scratches and stains. It makes up 15% of kitchen cabinets8. High-pressure laminate (HPL) is less likely to chip than lower quality ones9.
How to Identify Your Cupboard Material
To correctly identify your cupboard material, I look at a few things:
- Finish: The surface finish can tell if it’s real wood, laminate, or thermofoil.
- Weight: The weight of the cupboard material often matches its type. Solid wood is heavier than MDF or laminate.
- Texture: The texture helps tell materials apart. Real wood has a grain, while MDF and HDF are smooth.
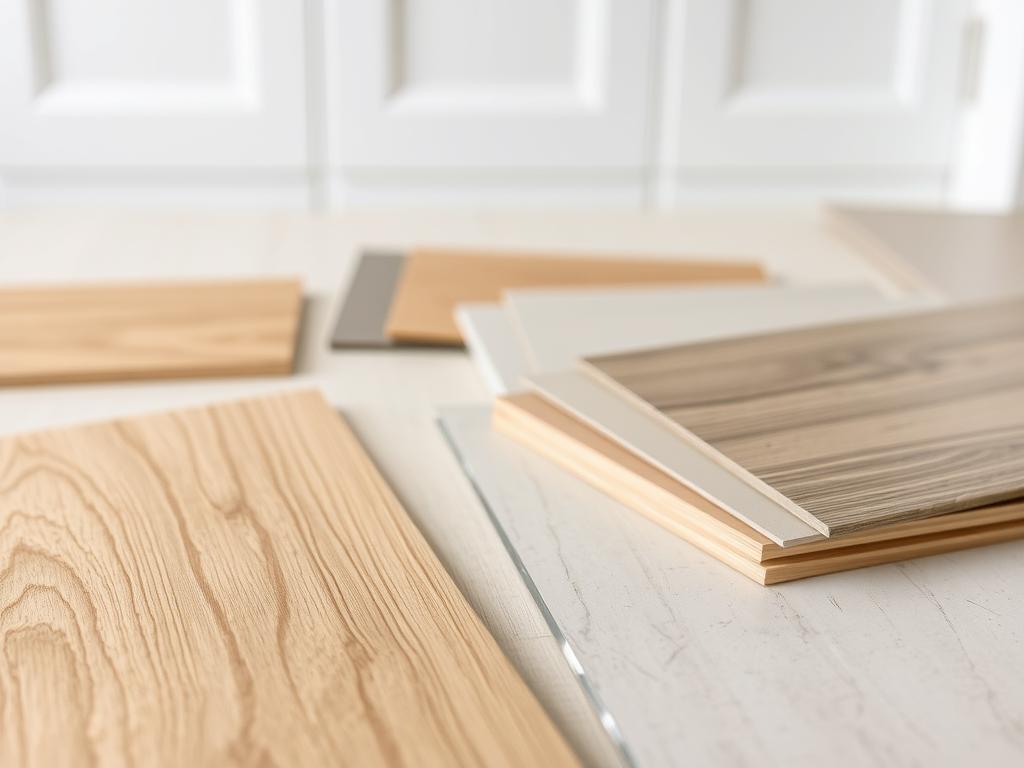
Choosing the Right Covering Material
Choosing the right material for covering cupboards is key for lasting results. There are many options to fit your style and budget. Here are three main choices for covering cupboards.
Paint Options for Cupboard Covering
Painting cupboards gives you endless color choices. It also hides imperfections, giving them a new look. High-quality paints last longer, even in kitchens.
Adhesive Paper and Vinyl Wraps
Adhesive paper and vinyl wraps add style. They come in many designs, letting you show your personality. They cost about $50 to $150 per foot for thermofoil11. They’re also good for kitchens because they resist stains12.
Wood Veneers
Wood veneers look fancy but are affordable, costing 30% to 60% less than solid wood11. They keep the wood look without breaking the bank. Plywood is strong and adds beauty, making it a great choice12.
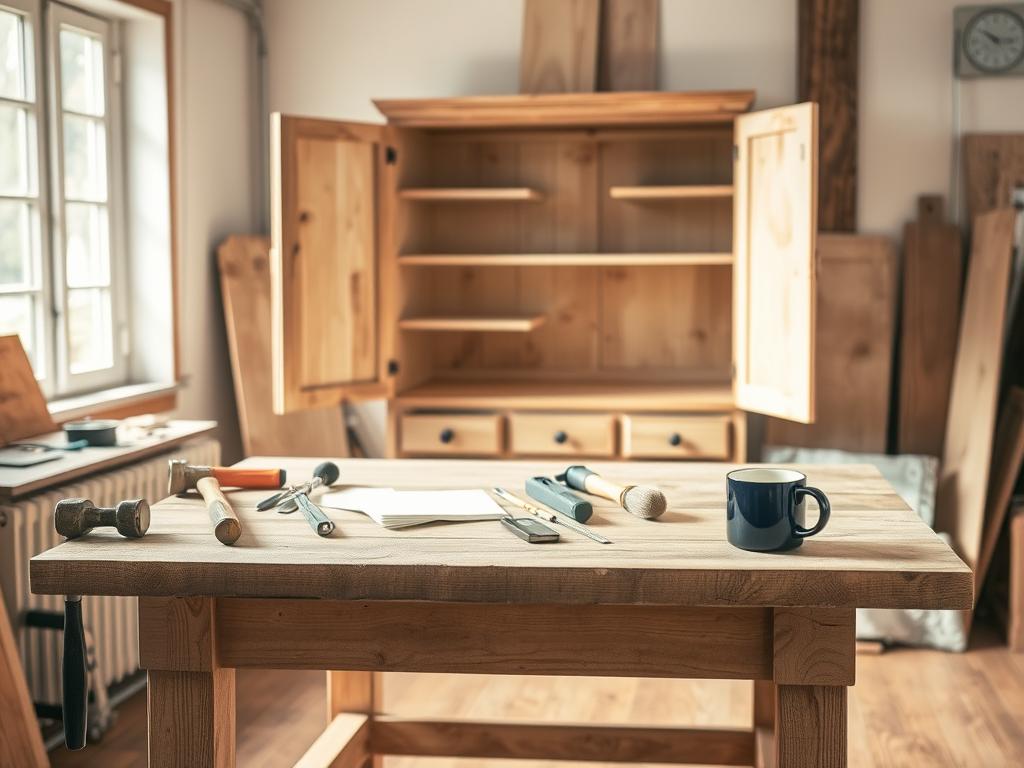
Getting Your Workspace Ready
Preparing my workspace for cupboard covering is key to a smooth renovation. I clean the area well, removing dust or debris. Then, I gather tools like a measuring tape, paintbrushes, and spatulas. I also organize them for easy access.
I make sure to wear safety gear like gloves, goggles, and a mask. This protects me during the project.
A tidy workspace helps me work better and avoid mistakes. Clutter can slow me down. Using vertical space can make my workspace up to 50% bigger13. This lets me keep the floor clear and organized.
With careful preparation, I can focus better. This helps me do a great job on my cupboard makeover.
To plan my workspace, I make a table:
| Task | Description |
|---|---|
| Clean Surface | Remove dust and any old fixtures to create a smooth area for working. |
| Gather Tools | Collect necessary tools and materials such as paint, brushes, and drop cloths. |
| Safety Gear | Don gloves, goggles, and masks to ensure protection during renovations. |
| Organize Workspace | Arrange tools and materials for easy reach, avoiding clutter that slows me down. |
| Planning | Measure surfaces and plan the layout for cabinets to maximize space efficiency. |
Setting up my workspace right makes the cupboard covering project better. Families now want functional spaces at home, more than ever since 202014. Adjusting my work area ensures the final result meets their needs safely and efficiently.
How to Cover a Cupboard: Step-by-Step Guide
In this guide, I will show you how to cover a cupboard step by step. This will help you get a polished look and lasting results. It’s important to prepare the surfaces well and apply the covering carefully for the best results.
Preparing the Surfaces
Before applying any covering, I must prepare the cupboard surfaces. This includes:
- Cleaning: I start by cleaning the surface to remove dust and grease. This ensures the covering material sticks well.
- Sanding: Lightly sanding the surfaces helps the covering grip better. This step is key for a smooth finish.
- Priming: I might use a primer if I plan to paint. This step makes the finish last longer.
Applying Your Chosen Covering
After preparing the surfaces, I can apply the covering. Here are the methods I might use:
- Painting: For paint, I apply thin coats, letting them dry between each. This method gives a strong look.
- Adhesive Paper: To use adhesive paper, I measure and cut it to size. I use a squeegee to apply it, removing air bubbles (about 85% efficiency)15.
- Wood Veneers: When using veneer, I cut each strip wider and longer for a good fit. At least three coats of water-based polyurethane protect the finish16.
If I label the cabinet doors and hardware well, I can save 20-30% of reassembly time. This makes the process easier15.
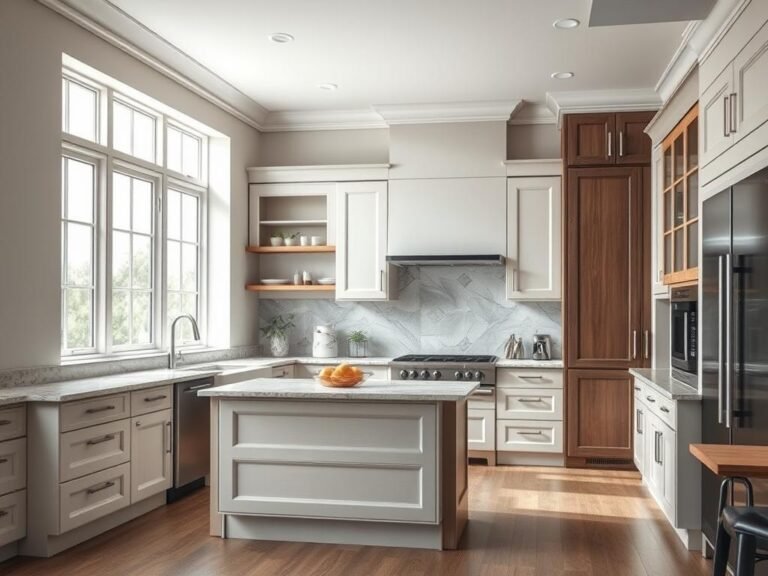
Creative Cupboard Covering Ideas
I love finding new ways to cover my kitchen cupboards. Using patterns and colors that show my style makes them stand out. It turns them into a room’s centerpiece.
Stenciling adds cool designs. Mixing materials like wood veneers with adhesive paper creates a unique look. It shows off my personal style.
It’s possible to make my kitchen look new for under $20. This shows DIY home improvement is affordable. It lets people improve their homes without spending a lot17.
Using fabric on shelves or doors is a great idea. It hides clutter and adds warmth. “Sink skirts” also add a nostalgic feel while being useful.
Now, we can make small kitchens more efficient. Designs like vented cabinets help manage storage and appliances18. They make the kitchen feel better.
Covering cupboards can be very creative. I can pick colors, patterns, or textures that show my taste. It makes my kitchen feel happy and welcoming.
If you’re seeking inspiration, remember that providing a unique flair to your cabinets can change the whole vibe of your culinary space.
With the right ideas, my kitchen will show who I am. It will stay functional and stylish.
For those who like mixing designs, try high-gloss paint or vented cabinets. They look great and work well. Creative cupboard covering can make my kitchen more beautiful and useful1718.
Affordable Cupboard Covering Options
Renovating my kitchen doesn’t have to cost a lot. I found many cheap ways to make my cabinets look better. Using contact paper is a great idea to update my cabinets. I started with 8 rolls of black contact paper, but needed 10-12 rolls for the whole job. This cost around $80-$10019.
This method made my cabinets look much better, about ten times better than before. Plus, I did it all by myself, without needing a professional1920.
DIY cabinet refacing is a smart way to save money. I found out you can do it for under $200, which is very affordable20. In fact, most homeowners choose to update their cabinets instead of replacing them. This shows how popular and cost-effective these options are21.
It’s very important to clean the surface before applying contact paper. A clean surface helps the paper stick better. I learned that using black contact paper hides seams and imperfections well, giving a smooth finish19.
If you want to add a creative touch, consider adhesive wallpaper. It can make your home look 15% more valuable. It’s not just for looks; it’s also a smart investment21.
Conclusion
Learning how to cover a cupboard is both practical and fun. It can be a quick update or a big kitchen change. Knowing the different materials and methods helps me make smart choices.
Many people choose to cover cupboards instead of replacing them. This is because replacing cabinets can be very expensive. It shows that many are looking for cheaper ways to update their kitchens22.
Using products like Rustoleum’s Cabinet Transformation Kit makes it easy to refinish cabinets. It’s also much cheaper than buying new ones22. This project can be done in just a weekend, which is great for busy people22.
But, it’s important to plan for drying times. After applying the top coat, wait 24 hours. This makes the finish last longer and look better.
Thinking about covering a cupboard is more than just making it look good. It’s about making my home last longer and look better. Learning new ways to renovate cupboards is exciting. It lets me change my kitchen in a creative and planned way.
FAQ
How can I cover my kitchen cupboard doors?
You can cover your kitchen cupboard doors in many ways. You can paint them, use adhesive paper, vinyl wraps, or wood veneers. Each method changes your kitchen’s look in its own way.
What are some affordable cupboard covering options?
For cheap options, try contact paper, DIY painting, or refacing cabinets. These methods can make your kitchen look new without a big renovation.
Can I use wallpaper to cover my kitchen cupboards?
Yes, you can use wallpaper on your kitchen cupboards. Adhesive or removable wallpaper is great for adding patterns and textures.
Is it possible to paint thermofoil cabinets?
Painting thermofoil cabinets is tough but doable. Clean and sand the surface first. Then, use a good primer before painting for better stick.
What should I do if my cupboards are damaged before covering?
Fix any damage like scratches or dents before covering. Sand the spots and use wood filler or caulk to fix them. This makes the surface ready for covering.
How can I creatively cover my cupboards?
You can cover your cupboards in many creative ways. Try using stencils, mixing materials, or bold colors and patterns. This shows off your personal style.
Can I cover my kitchen cabinets with vinyl wraps?
Yes, vinyl wraps are a great choice for kitchen cabinets, even laminate ones. They come in many colors and designs for a custom look.
What tools do I need to cover my cupboards?
You’ll need cleaning supplies, sandpaper, primers, paints or adhesives, a putty knife, and a utility knife. Don’t forget safety gear like gloves and goggles.
What materials are best for covering cupboards?
The best materials depend on what you like and your cupboard’s material. Paint, adhesive paper, vinyl wraps, and wood veneers are popular. Each has its own look and function.