
Ever wondered why some DIY paint jobs look flawless while others peel or chip within months? The secret lies in the preparation. Transforming your space with a fresh coat of paint starts with tackling stubborn grease and grime, ensuring a smooth and durable finish. Proper prep work is the foundation of any successful project, especially when it comes to cabinet surfaces.
Specialized cleaners like Krud Kutter and TSP are highly effective for removing oil residue and fingerprints, ensuring your surface is ready for the next step1. Investing time in this process not only saves effort later but also guarantees a professional-looking result. Whether you’re working with newer or older units, the right tools and techniques make all the difference.
This guide will walk you through every step, from gathering supplies to applying the final touches. Follow along to achieve a stunning transformation that lasts for years.
Key Takeaways
- Proper preparation ensures a smooth and durable finish.
- Specialized cleaners like TSP effectively remove grease and grime.
- Investing time in prep work saves effort during the painting process.
- Newer cabinets may require liquid sandpaper, while older ones need sanding.
- A good primer creates a solid base for paint application.
Gathering Essential Tools and Supplies
Getting started on your project requires the right tools and supplies to ensure success. Proper preparation not only saves time but also guarantees a professional-looking finish. Whether you’re tackling a small space or a larger area, having the correct items on hand is crucial.
Must-Have Cleaning and Degreasing Products
Effective cleaning begins with quality products. Degreasers like Krud Kutter are essential for removing built-up grease and grime from cabinet doors and other surfaces. A mixture of trisodium phosphate (TSP) and water in a 1:4 ratio is also highly effective for cutting through stubborn residue2.
Scouring pads, scrub brushes, and cleaning cloths are indispensable for ensuring a flawless surface. These tools help eliminate even the toughest stains, preparing the area for the next steps in the process.
Safety Gear and Preparation Essentials
Safety should always be a priority. Wearing gloves, safety glasses, and a respirator protects you from chemical exposure and fumes2. Protective clothing prevents splatters and spills from damaging your skin or clothes.
Additionally, having plastic buckets, wood scraps, and sawhorses on hand makes the process more organized. These items help elevate cabinet doors during cleaning and drying, ensuring a smooth workflow.
By gathering the right tools and supplies, you set yourself up for a hassle-free experience. Proper preparation ensures your cabinet painting project is both efficient and successful.
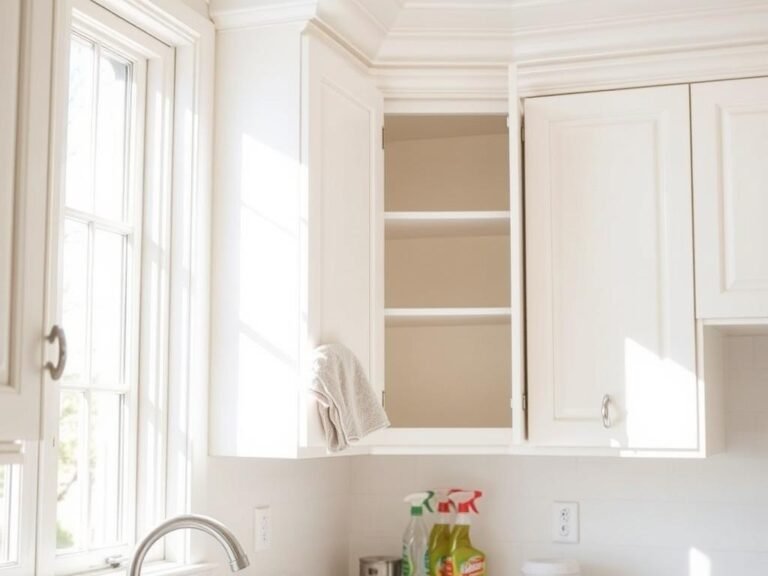
Inspecting Your Cabinets and Removing Contents
Transforming your space starts with a thorough inspection of your surfaces. This step ensures you’re ready to tackle any challenges that might arise. Begin by clearing out all items from your workspace to create an organized area.

Clearing Out and Organizing Your Space
Remove everything from the shelves and drawers. Use labeled ziplock bags to store hardware like screws and hinges. This system saves time during reassembly and keeps your workspace clutter-free3.
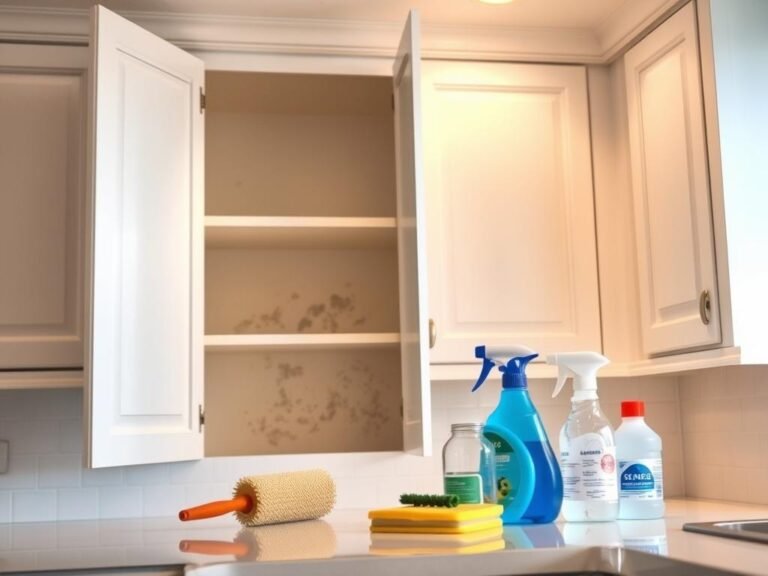
Identifying Grease, Grime, and Problem Areas
Check for heavy buildup of grease and grime, especially around handles and edges. Use a damp cloth to wipe down surfaces and spot areas that need extra attention. Inspect wood frames and doors for damage or uneven spots that might require sanding4.
Taking the time to inspect your space thoroughly ensures a smooth process. Proper preparation now means fewer surprises later.
How to Clean Kitchen Cabinets for Painting
Achieving a flawless finish begins with effective degreasing and scrubbing techniques. Proper prep ensures your project looks professional and lasts for years. Start by gathering the right tools and solutions to tackle stubborn residue.

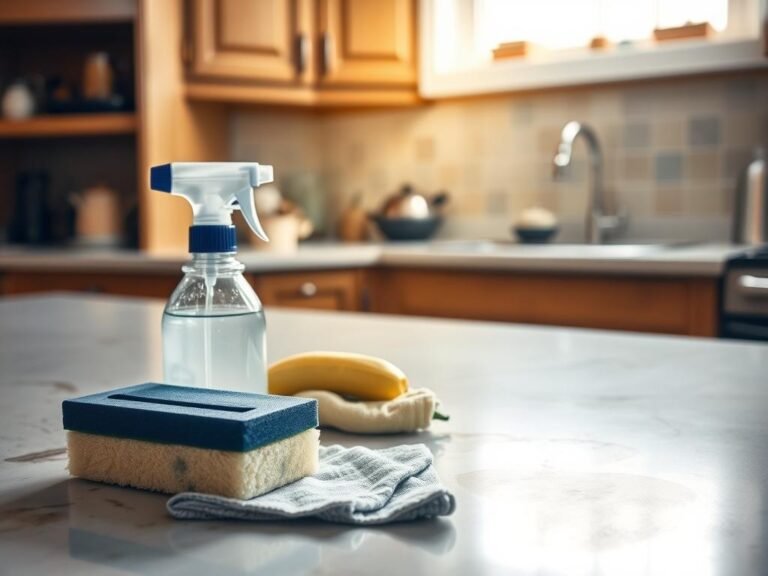
Applying Degreaser Solutions Effectively
Mixing a degreaser like Krud Kutter with water creates a powerful solution for removing grease and grime. Use a spray bottle for targeted application, especially in hard-to-reach areas. This method ensures even coverage and maximizes efficiency5.
Always start from the top and work your way down. This prevents dirt from re-depositing on cleaned surfaces. For stubborn areas, repeat the process to ensure all residue is removed6.
Scrubbing Techniques for Tough Grime
Use gentle circular motions with a scrub brush or sponge to break down grease without damaging the surface. Avoid harsh scrubbing, as it can leave scratches that affect the final finish.
For areas with heavy buildup, consider using a scouring pad. Rinse thoroughly with water and wipe dry to prepare the surface for the next steps in your project.
- Mix degreaser solutions for optimal results.
- Apply with a spray bottle for targeted cleaning.
- Use circular motions to break down grime gently.
- Repeat the process for stubborn areas.
- Proper cleaning ensures a smooth surface for repair and sanding.
Repairing, Filling, and Preparing Surfaces
A flawless cabinet paint finish starts with meticulous surface preparation. Addressing scratches, dents, and other imperfections ensures a smooth and professional result. Taking the time to repair and fill these areas now saves effort later.

Addressing Damage and Filling Nail Holes
Scratches and dents are common on older surfaces. Use a quality wood filler to patch these areas. Apply the filler with a putty knife, smoothing it evenly. Let it dry completely before moving to the next step7.
For nail holes, apply a small amount of filler and level it with the surface. This ensures a seamless look once painted. Properly filled areas create a uniform base for your cabinet paint.
Sanding and Smoothing the Wood Surface
Sanding is a critical step in surface preparation. Use medium to fine-grit sandpaper to smooth the wood. This removes old finish remnants and creates a texture for better paint adhesion8.
After sanding, wipe away dust with a damp cloth. A TSP solution can help remove any residual dirt. This ensures the surface is clean and ready for priming.
| Step | Tool/Product | Tip |
|---|---|---|
| Fill Nail Holes | Wood Filler | Apply evenly and let dry completely. |
| Sanding | 320-grit Sandpaper | Sand in the direction of the wood grain. |
| Cleaning | TSP Solution | Wipe surfaces with a damp cloth after sanding. |
Following these steps ensures your work results in a durable and beautiful finish. Proper preparation is the way to achieve a professional look that lasts.
Final Cleaning, Wipe-Down, and Drying
The last step before priming is crucial for a flawless finish. A meticulous cleaning routine ensures your painting cabinet project looks professional and lasts for years. Today, we’ll walk you through the final prep work to achieve a pristine surface.

Removing Residue and Ensuring a Clean Finish
Start by wiping down all surfaces with a clean, damp cloth. This removes any lingering cleansers or soap residue. Pay extra attention to the trim and intricate parts, as these areas often collect debris9.
For even coverage, use a spray bottle to apply a diluted cleaning solution. A mix of 10 parts water to 1 part Krud Kutter works well for this step10. Ensure every bit of degreaser is eliminated to avoid issues later.
Allow the surface to dry completely before moving to the next stage. Proper drying prevents moisture from affecting the primer or paint. Today’s effort ensures a smooth and durable finish for your painting cabinet project.
- Use damp cloths for a thorough wipe-down.
- Spray cleaning solutions for even application.
- Focus on trim and detailed parts for uniformity.
- Let surfaces dry completely before priming.
Taping, Protecting Surrounding Areas, and Finishing Touches
Ensuring crisp, clean lines during your project is a game-changer for a professional look. Properly taping off areas protects walls, countertops, and other surfaces from unintended marks. This step is essential for achieving a polished paint finish.

Using Frog Tape for Crisp, Clean Lines
Frog Tape is a top choice for creating sharp edges. Start by placing two parallel strips along the edges of your kitchen cabinet. This double-layer technique provides extra protection against paint bleeding11.
Use a credit card or similar tool to press the tape firmly into place. This ensures precision and prevents gaps where paint could seep through. Proper application is key to maintaining clean lines12.
Protecting surrounding areas is just as important. Cover countertops, floors, and appliances with plastic tarps or drop cloths. This prevents drips and splatters from damaging your space11.
Before moving forward, double-check your work. Ensure no dust or grime interferes with the tape’s adhesive. A clean surface guarantees a seamless paint finish.
| Step | Tool/Product | Tip |
|---|---|---|
| Taping Edges | Frog Tape | Use two parallel strips for extra protection. |
| Pressing Tape | Credit Card | Press firmly to prevent paint bleeding. |
| Covering Surfaces | Plastic Tarps | Protect countertops and floors from drips. |
Wearing gloves and using your hand to smooth the tape ensures a secure fit. These small details contribute to a flawless result. Taking the time to tape and protect now saves effort during cleanup later.
By following these steps, you’ll achieve a professional-looking transformation. Proper preparation ensures your kitchen cabinet project is both efficient and stunning.
Conclusion
Thorough preparation is the key to a successful painting project. From gathering supplies to final prepping, each step ensures a professional result. Proper inspection, cleaning, and repairs create a smooth surface for a flawless finish13.
Following these detailed steps can transform your home, adding both beauty and value. Patience and attention to detail are essential for achieving the best result. Taking the time to prep properly saves effort and ensures durability14.
We encourage you to share your experiences in the post after completing your project. Your feedback helps others achieve similar success. Revisit this guide for future projects or additional tips to enhance your home.
With the right approach, your painting project will leave a lasting impression. Enjoy the process and take pride in your hard work. The effort you put in today will reward you with a stunning result for years to come.