
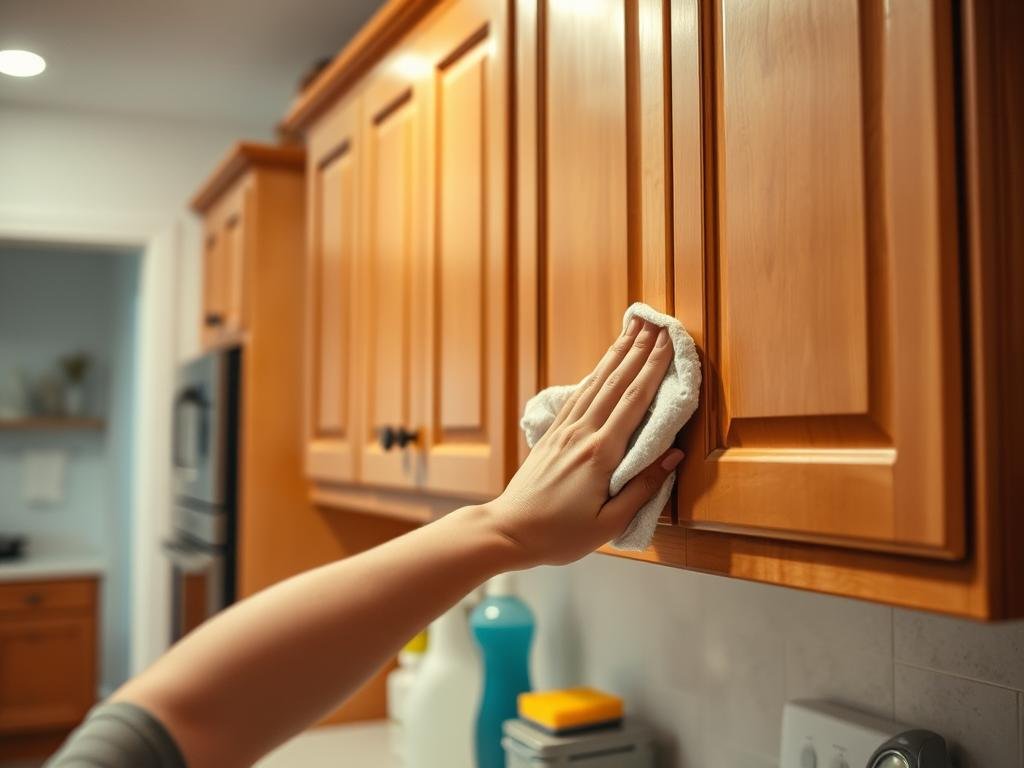
Ever wondered why your kitchen doesn’t feel as fresh as it could? The answer might be hiding in plain sight—your cabinets. Often overlooked, they can accumulate grease, dust, and grime over time, dulling the heart of your home. But don’t worry, keeping them spotless is easier than you think!

Regular maintenance ensures your cabinets stay in top shape. A weekly wipe-down with a damp cloth and mild cleaner can prevent heavy buildup1. For deeper cleaning, a simple solution of dish soap and water works wonders2. This approach keeps your space looking polished without harsh chemicals.
With the right tools and a consistent routine, you can transform your kitchen’s appearance. Ready to get started? Let’s dive into the steps that make this process effortless and effective.
Key Takeaways
- Weekly maintenance prevents grease and dust buildup.
- Use a damp cloth and mild cleaner for effective results.
- Deep cleaning is needed 1-2 times a year for optimal care.
- Focus on knobs and handles where fingerprints accumulate.
- Eco-friendly solutions like vinegar and baking soda work well.
Essential Tools and Ingredients for Cabinet Cleaning
The right tools can make all the difference in keeping your space pristine. Having the proper supplies ensures your surfaces stay spotless without damage. Let’s explore the must-have items for effective maintenance.
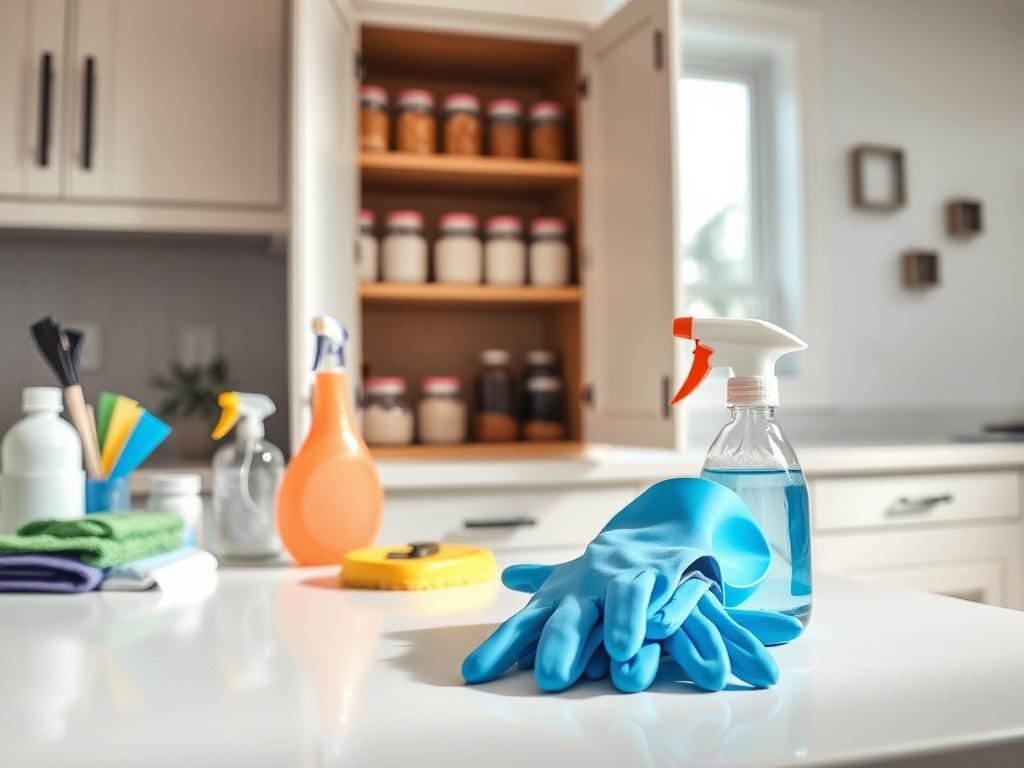
Must-Have Cleaning Supplies and Equipment
Start with a spray bottle to evenly apply your cleaning solution. A mix of liquid dish soap and warm water works well for most surfaces3. Microfiber cloths are ideal for wiping down without leaving scratches. Nonabrasive sponges and soft-bristled brushes are perfect for tackling tough spots.
For hardware, a dedicated toothbrush can reach into crevices around handles and knobs. A mixture of equal parts vinegar and water is an effective natural degreaser4. These tools ensure your cleaning process is efficient and thorough.
Selecting the Right Cloths and Brushes
Choosing the correct cloths and brushes is critical to avoid damaging your cabinet finish. Microfiber cloths are gentle yet effective, making them a top choice. Soft-bristled brushes are perfect for cleaning hardware without scratching the surface.
For eco-friendly options, consider Castile soap or Attitude brand cleaners. These products are safe for wood, painted, or laminated surfaces3. Investing in quality supplies not only improves results but also extends the lifespan of your cabinets.
By using the right tools and products, you can maintain a polished look effortlessly. A little preparation goes a long way in keeping your space fresh and inviting.
Preparing to Clean Your Kitchen Cabinets
Before diving into the process, it’s crucial to understand your cabinet’s material and condition. This step ensures you choose the right products and tools for effective care. Taking a minute to assess your space saves time and prevents accidental damage.
Assessing Cabinet Material and Condition
Start by identifying your cabinet’s material. Wood, painted, and laminated surfaces each require specific care. For example, wood cabinets need gentle cleaners to avoid stripping the finish, while laminated ones can handle slightly more moisture5.
Next, evaluate the condition. Look for areas with heavy grease or grime buildup, especially around handles and doors. These spots often need extra attention6. Testing your cleaning solution on a small, inconspicuous area ensures it won’t harm the surface7.
Using warm water and the right product is key. For wood, a mix of vinegar and water works well, while laminated surfaces benefit from mild dish soap5. Always choose tools like soft cloths or sponges that match your cabinet’s material.
- Evaluate material and condition before starting.
- Identify areas with heavy grease or grime.
- Test cleaning solutions on a small area first.
- Use warm water and tailored products.
- Choose tools that match your cabinet’s material.
Preparation is the foundation of a successful process. By understanding your cabinet’s needs, you ensure a polished and long-lasting finish.
How to clean kitchen cabinets
Maintaining a spotless home starts with the details, and your cabinets are no exception. With a few simple steps, you can keep them looking fresh and polished. Let’s break down the process into manageable tasks.
Step-by-Step Cleaning Process
Follow these steps to achieve sparkling results:
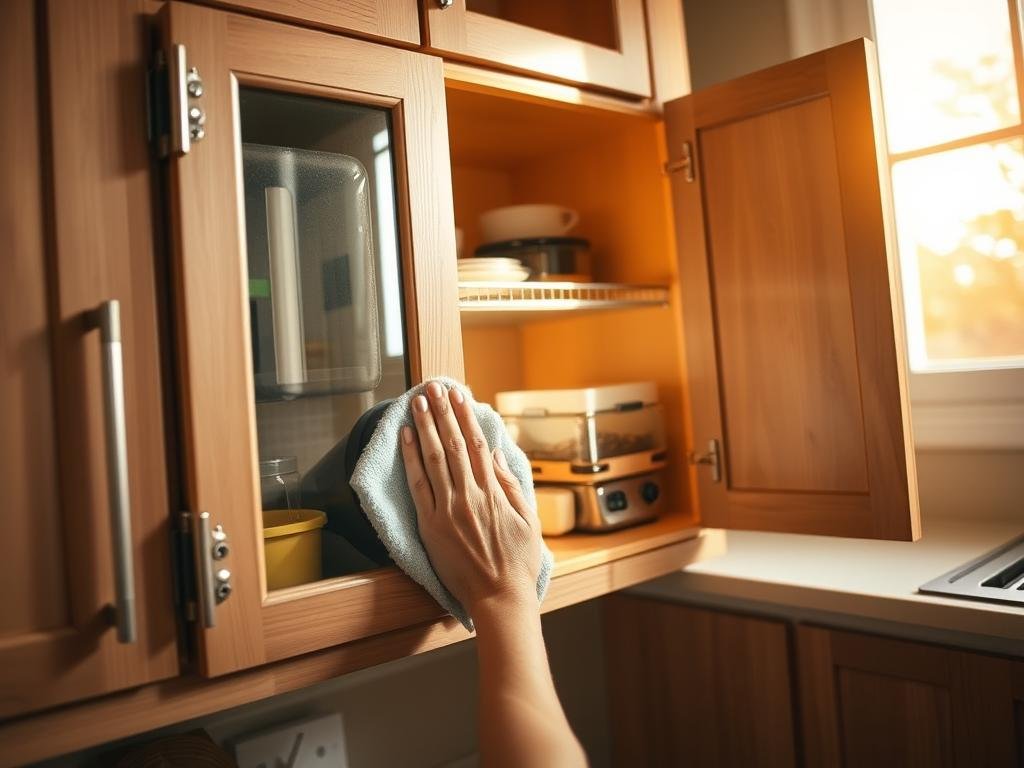
- Prepare Your Solution: Mix a few drops of dish soap with warm water in a spray bottle. This gentle solution is effective for most surfaces8.
- Wipe Down Surfaces: Dip a soft sponge or microfiber cloth into the solution, squeeze out excess moisture, and wipe from top to bottom. This prevents drip marks8.
- Focus on Hardware: Use a soft toothbrush or sponge to clean handles and knobs. These areas often collect grease and fingerprints8.
- Dry Promptly: Use a dry cloth to remove any remaining moisture. This prevents water damage and streaks8.
- Repeat as Needed: For stubborn spots, repeat the process until all grime is removed.
Understanding Surface vs. Deep Cleaning
Surface cleaning is a quick wipe-down to remove dust and light grime. It’s ideal for weekly maintenance and takes less than 10 minutes8. Deep cleaning, on the other hand, involves a thorough process to remove heavy buildup. This is necessary only once or twice a year and can take up to an hour8.
| Type | Frequency | Tools Needed |
|---|---|---|
| Surface Cleaning | Weekly | Microfiber cloth, mild soap, water |
| Deep Cleaning | 1-2 times a year | Soft brush, dish soap, warm water |
By following these steps, you’ll maintain a polished look without damaging the finish. A little effort goes a long way in keeping your space fresh and inviting.
Simple Daily and Weekly Maintenance Tips
Keeping your home fresh and inviting doesn’t have to be a chore. With a few simple habits, you can maintain your cabinets effortlessly. Daily and weekly routines prevent buildup, saving you time and effort in the long run9.
Quick Dusting and Spot Cleaning Techniques
Start with a dry microfiber cloth for daily dusting. This removes surface particles without leaving scratches9. For spills or sticky spots, act quickly. A slightly damp cloth with a drop of dish soap works wonders for stubborn marks10.
Here are some easy steps to follow:
- Daily Dusting: Use a dry microfiber cloth to wipe down doors and handles. This prevents dust buildup9.
- Spot Cleaning: Address spills immediately with a damp cloth and mild soap. This keeps surfaces spotless10.
- Weekly Wipe-Down: Use a gentle solution of water and vinegar for a thorough yet safe clean9.
For minor stains, a baking soda paste can be effective. Apply it gently, then wipe clean with a damp cloth9. Avoid abrasive tools to protect the finish.
By incorporating these simple techniques, you’ll keep your cabinets looking pristine. Consistency is key to maintaining a fresh and inviting space.

Deep Cleaning Techniques for Cabinets
Over time, even the most well-maintained areas can accumulate stubborn buildup. A thorough approach ensures your storage spaces stay functional and visually appealing. Deep cleaning goes beyond surface maintenance, addressing hidden grime and grease that can dull your space.
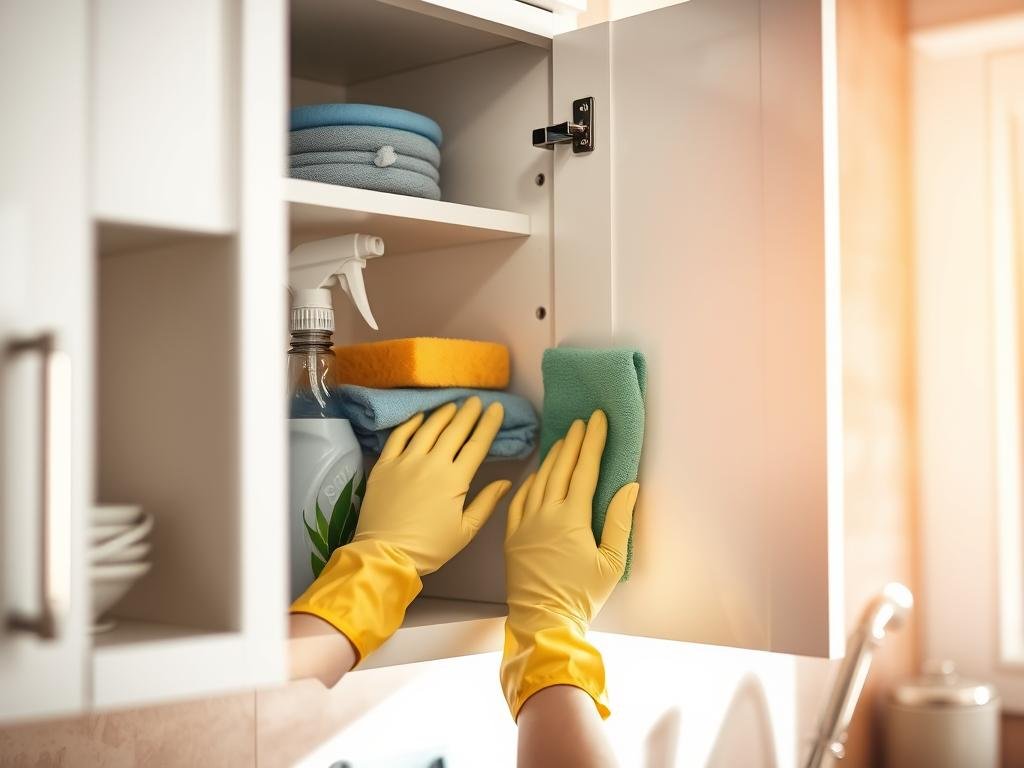
Cleaning Inside Cabinets and Hardware
Start by emptying your storage units in sections to manage the process efficiently. This allows you to focus on one area at a time, ensuring no spot is overlooked. Use a soft toothbrush or soft-bristled brush to clean hardware like handles and knobs. These areas often collect grease and fingerprints11.
For interior surfaces, a mixture of dish soap and warm water works effectively. Apply the solution with a nonabrasive sponge or cloth, scrubbing gently to avoid damage11. Baking soda paste can tackle stubborn spots—apply it, let it sit for a few minutes, then wipe clean12.
Effective Methods for Removing Grease and Grime
Grease and grime can build up over time, especially in high-traffic areas. A 50:50 solution of vinegar and warm water is a cost-effective and chemical-free way to break down stubborn residue11. For tougher stains, let the solution sit for a few minutes before wiping clean.
- Empty contents: Work in sections to avoid overwhelming yourself.
- Clean hardware: Use a soft brush or toothbrush for detailed work.
- Address stubborn spots: Baking soda paste or vinegar solutions work wonders.
- Dry thoroughly: Prevent moisture damage by wiping all surfaces dry12.
Deep cleaning on a semiannual basis can significantly prolong the lifespan of your storage units. It preserves both their aesthetic and functionality, ensuring they remain a highlight of your space.
Eco-Friendly and DIY Cleaning Solutions
Transform your cleaning routine with eco-friendly solutions that are both effective and safe. These methods reduce the use of harsh chemicals while keeping your space spotless. Let’s explore two simple systems that make sustainable cleaning effortless.

The 3 Cloth System Explained
The 3 Cloth System is a straightforward approach that relies on non-harsh methods. Start with one cloth soaked in a soapy solution, another damp with water for rinsing, and a dry one for buffing13. This method minimizes moisture exposure, especially on wooden surfaces, while ensuring a thorough clean.
Using a microfiber cloth for the dry step prevents streaks and scratches. This system is ideal for weekly maintenance, cutting through grease without damaging the finish13. It’s a practical way to keep your space fresh and inviting.
Using the Spray Bottle System for Gentle Cleaning
The Spray Bottle System is another eco-friendly option. Mix 1 cup of hot water with 1/4 cup of dish soap for a gentle yet effective solution13. This ratio ensures the cleaner cuts through grease without leaving residue.
Spray the solution onto surfaces and wipe with a damp cloth. For tough spots, let it sit for a few minutes before wiping clean. This method works well on both exteriors and glass insets, making it versatile for various surfaces14.
Keep extra spray bottles handy to mix fresh solutions as needed. This system not only protects your home’s health but also preserves the cabinet finish13.
By adopting these eco-friendly systems, you can maintain a polished look while reducing your environmental impact. Simple, safe, and effective—these methods are a win for your home and the planet.
Pro Tips for Prolonging Cabinet Lifespan
Preserving the beauty and functionality of your storage spaces requires thoughtful care and attention. With the right strategies, you can ensure they remain a highlight of your home for years to come. Let’s explore expert tips to extend their lifespan and maintain their pristine condition.
Avoiding Harsh Cleaners and Abrasive Tools
Harsh chemicals and rough tools can damage the finish of your storage units. According to cabinet maker George Evageliou, “Using nonabrasive tools and mild cleaners is essential to protect the surface and maintain its appearance.” Opt for microfiber cloths and soft brushes to avoid scratches15.
Regular cleaning with mild soap and vinegar can reduce the need for costly specialty cleaners by approximately 70%15. This approach not only saves money but also keeps your space eco-friendly.
Practical Adjustments to Preserve Cabinet Finish
Small adjustments can make a big difference. Ensure doors are properly aligned to prevent unnecessary wear. Traditional hardware is often more durable than modern alternatives, reducing the risk of damage16.
Applying a light coat of wood polish, like Howard Orange Oil, can rejuvenate the surface and protect it from drying out. This simple step takes just a minute but can significantly enhance the look and feel of your storage units15.
“Minor adjustments now can prevent costly repairs later. Regular checks and gentle care are the keys to longevity.”
| Maintenance Task | Frequency | Benefit |
|---|---|---|
| Door Alignment Check | Every 6 months | Prevents wear and tear |
| Apply Wood Polish | Every 3 months | Rejuvenates surface |
| Use Protective Mats | Ongoing | Reduces water damage |
By adopting these pro tips, you can keep your storage spaces looking their best for years. Consistency and gentle care are the foundations of long-lasting beauty and functionality.
Conclusion
Your storage spaces deserve care that keeps them looking their best for years. Regular maintenance, like weekly wipe-downs, prevents buildup and maintains their shine17. For deeper care, a mix of warm water and mild dish soap works wonders17.
Focus on areas like handles and doors, where grime often collects. A soft cloth and gentle solutions protect the finish, whether it’s wood or glass18. Avoid harsh chemicals to ensure long-lasting beauty.
With simple steps and the right products, you can keep your space spotless. Start today and enjoy the fresh, polished look of well-maintained storage. It’s easier than you think!