Kitchen design often focuses on the obvious: cabinets, countertops, and appliances. But what about what’s behind closed doors? Covering your kitchen cabinets’ interiors can greatly improve both looks and function. It’s a small detail that can make a big difference.
Whether you’re updating your kitchen or just want a weekend project, this guide is for you. We’ll cover the why, what, and how of cabinet interior covering. Get ready to turn your cabinets into organized, stylish spaces you’ll love opening.
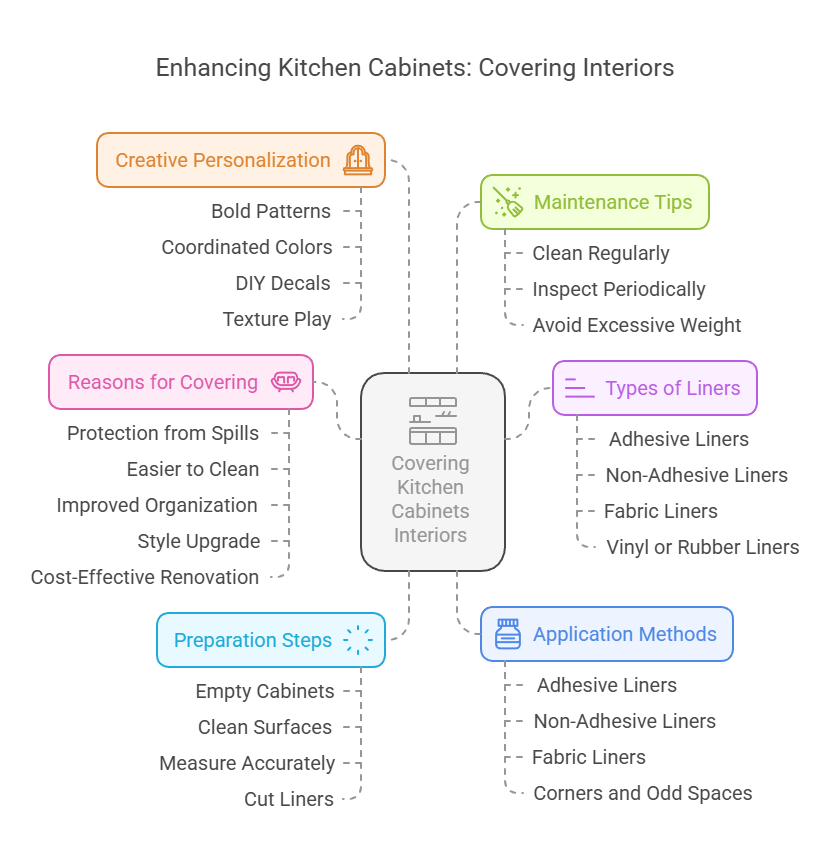
Why Cover the Inside of Kitchen Cabinets?
Let’s look at why this task is worth your time.
1. Protection from Spills and Scratches
Cabinets take a beating in the kitchen. They can get stained or scratched easily. Liners provide a protective layer, making them last longer.
2. Easier to Clean
With liners, cleaning is a breeze. No more scrubbing food stains or sticky messes. Just wipe down or replace the liners for a fresh look.
3. Improved Organization
Some liners have a textured finish. This keeps dishes and other items from moving around. Your cabinets stay neat and organized.
4. A Style Upgrade
Don’t think cabinet interiors have to be dull. With many liners available, you can add color, patterns, or minimalism. Match your kitchen’s style perfectly.
5. Cost-Effective Renovation
Need a quick fix for worn-out cabinet interiors? Covering them is cheaper than replacing them.
So, cabinet liners are small but mighty. They help keep your kitchen organized, functional, and looking great.
Types of Coverings for Kitchen Cabinets
Choosing the right liner depends on your goals and style. Here are the most common types:
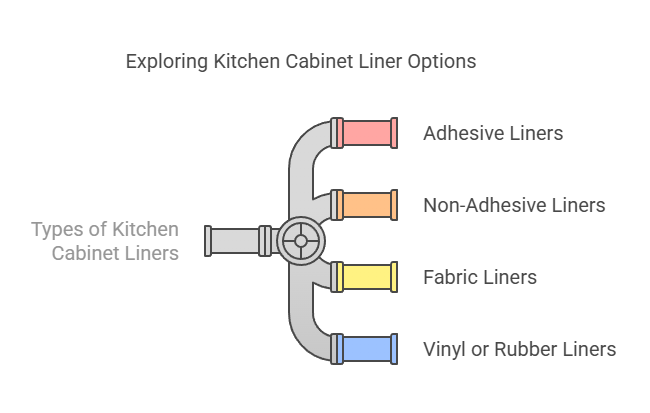
1. Adhesive Liners
These stick to the surface with a peel-and-stick backing. They come in many patterns, colors, and textures.
Pros:
- Durable and long-lasting
- Available in countless designs
- Easy to clean
Cons:
- Harder to reposition once applied
- Can be tricky to remove, sometimes leaving sticky residue
2. Non-Adhesive Liners
These liners sit loosely on the surface. They’re easy to adjust or replace.
Pros:
- Simple to install and remove
- No residue left behind
- Anti-slip options available
Cons:
- May shift around with heavy use
- Limited design options
3. Fabric Liners
Fabric liners offer a soft, luxurious feel. They’re great for dry storage areas.
Pros:
- Soft and gentle for delicate items
- Totally customizable
Cons:
- Requires frequent washing
- Not ideal for wet or messy areas
4. Vinyl or Rubber Liners
Vinyl and rubber liners are great for cabinets. They keep water out and are very durable. They’re perfect for storing things like cleaning supplies.
Pros:
- Waterproof and highly durable
- Slip-resistant
Cons:
- Limited design variety available
Choose based on what you’ll store and the look you want.
How to Measure and Prepare Cabinets
Getting ready is key for a great finish. Here’s how to start:
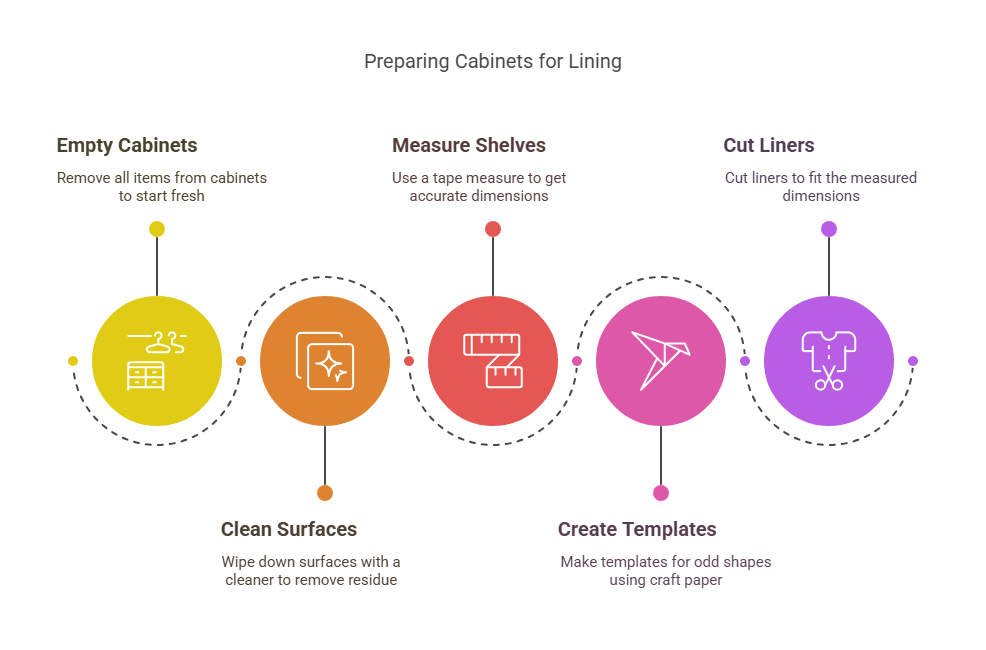
Step 1: Empty Your Cabinets
Take everything out. It’s a good time to declutter and get rid of what you don’t need.
Step 2: Clean the Surfaces
Wipe down the inside with a mild cleaner or vinegar. This removes dirt, grease, and residue. Make sure it’s dry before moving on.
Step 3: Measure Accurately
Measure each shelf and base with a tape measure. Double-check your measurements, including corners and irregular edges, to avoid mistakes.
Tip: Use craft paper or cardboard to make a template for odd shapes. It saves time and effort later.
Step 4: Cut the Liners
Cut your liners to fit your measurements. If using adhesive liners, leave a bit extra to trim later.
Now you’re ready for the fun part!
Applying Cabinet Liners
1. For Adhesive Liners
- Peel back a small section of the liner’s backing and align it with the cabinet edge.
- Slowly press it into place, smoothing out air bubbles with a credit card.
- Trim any excess with a craft knife or scissors.
2. For Non-Adhesive Liners
- Lay the liner flat in the cabinet.
- Adjust it to fit snugly, ensuring no edges are curled or overlapping.
- For added stability, use double-sided tape in the corners.
3. For Fabric Liners
- Place the fabric inside the cabinet and use adhesive spray or Velcro strips to secure the edges.
- If using fabric in drawers, consider hemming the edges to prevent fraying.
4. For Corners and Odd Spaces
Cut liners into smaller sections for tricky areas. Use templates for precision.
Avoid rushing, skipping measurements, or applying liners to dirty surfaces. These mistakes will come back to haunt you!
Creative Ideas for Personalizing Cabinet Interiors
Want to make your cabinets stand out? Here are some creative ideas:
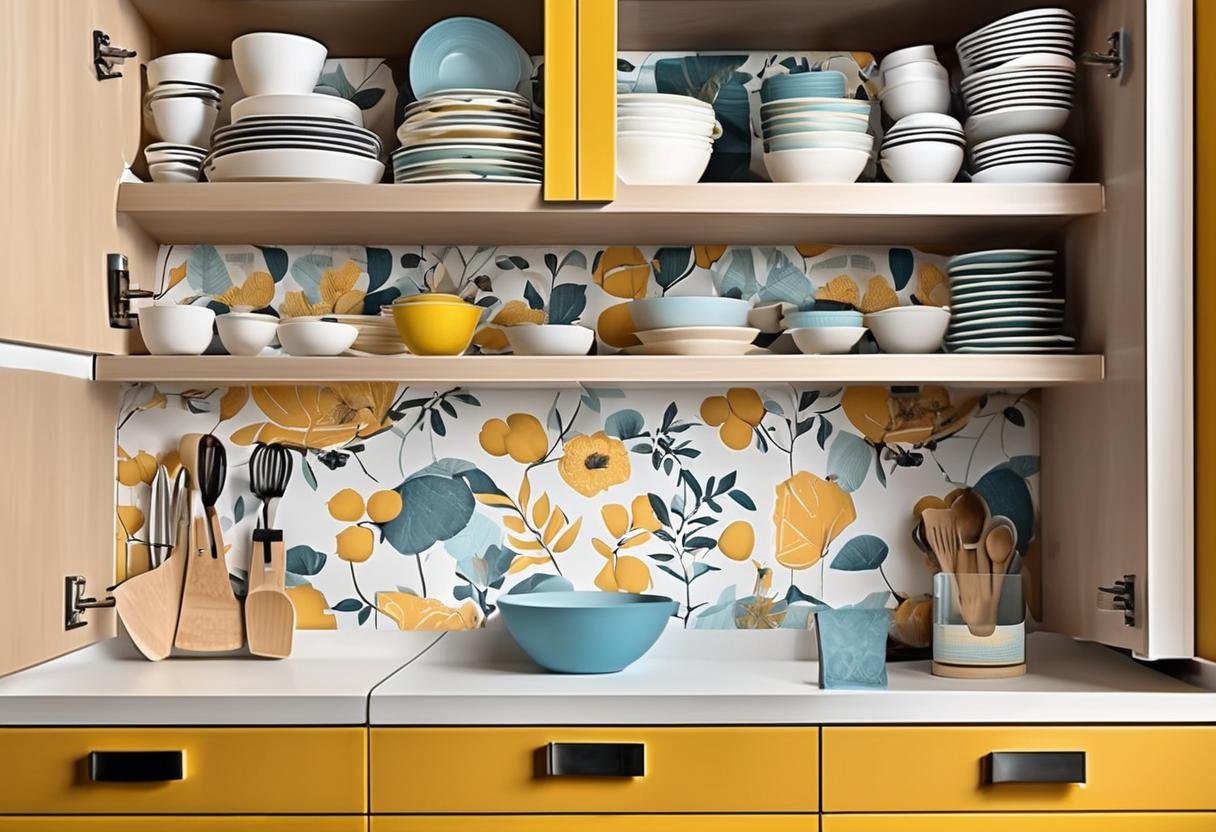
- Bold Patterns: Choose floral, geometric, or abstract designs to add personality.
- Coordinated Colors: Match your liners to your kitchen’s color scheme for a cohesive look.
- DIY Decals: Add custom decals or stencils to plain liners for a personalized touch.
- Texture Play: Experiment with cork or textured liners for a unique feel.
Your cabinets should reflect your personal style. Have fun with it!
Maintenance and Longevity
To keep your cabinets looking their best:
- Clean Regularly: Wipe down liners with a damp cloth or gentle cleaner.
- Inspect Periodically: Look for signs of wear and tear, like curling edges or stains, and replace liners as needed.
- Avoid Excessive Weight: Don’t overload cabinet shelves, as this can damage liners over time.
With a bit of care, your cabinet interiors will stay fresh and functional for years to come.
Transform Your Kitchen from the Inside Out
Covering the inside of your kitchen cabinets may seem like a small task, but it makes a big impact. It protects surfaces and enhances aesthetics. It’s an affordable, simple way to upgrade your kitchen.
Have your own tips or creative ideas for lining cabinets? We’d love to hear them! Share your experiences in the comments below, or tag us on social media—we can’t wait to see your beautifully covered cabinets.
Happy organizing!