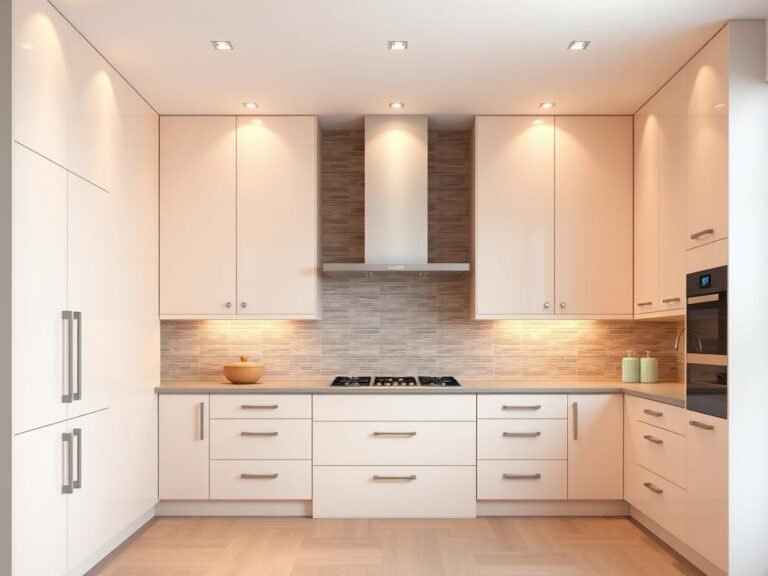
Have you ever stood in your kitchen, staring at outdated cabinets that make the entire space feel tired and uninspired? You’re not alone. Many homeowners and renters face the same dilemma: they want to refresh their space but don’t have the budget or time for a full kitchen renovation. The good news? You don’t have to!

Cabinet door covering is an affordable, beginner-friendly DIY solution that can completely transform your kitchen or bathroom cabinets. Whether you’re a seasoned DIY enthusiast or a total newbie, this guide will walk you through the process step by step. By the end, you’ll have a fresh, stylish space that looks like it was done by a pro—without the hefty price tag.
In this blog, you’ll learn:
- Why covering cabinet doors is a game-changer for DIYers.
- How to choose the right materials for your project.
- Step-by-step instructions for measuring, prepping, and applying your cabinet door covering.
- Tips for finishing touches and long-term maintenance.
Ready to give your cabinets a makeover? Let’s get started!
Why Covering Cabinet Doors is a Game-Changer for DIYers

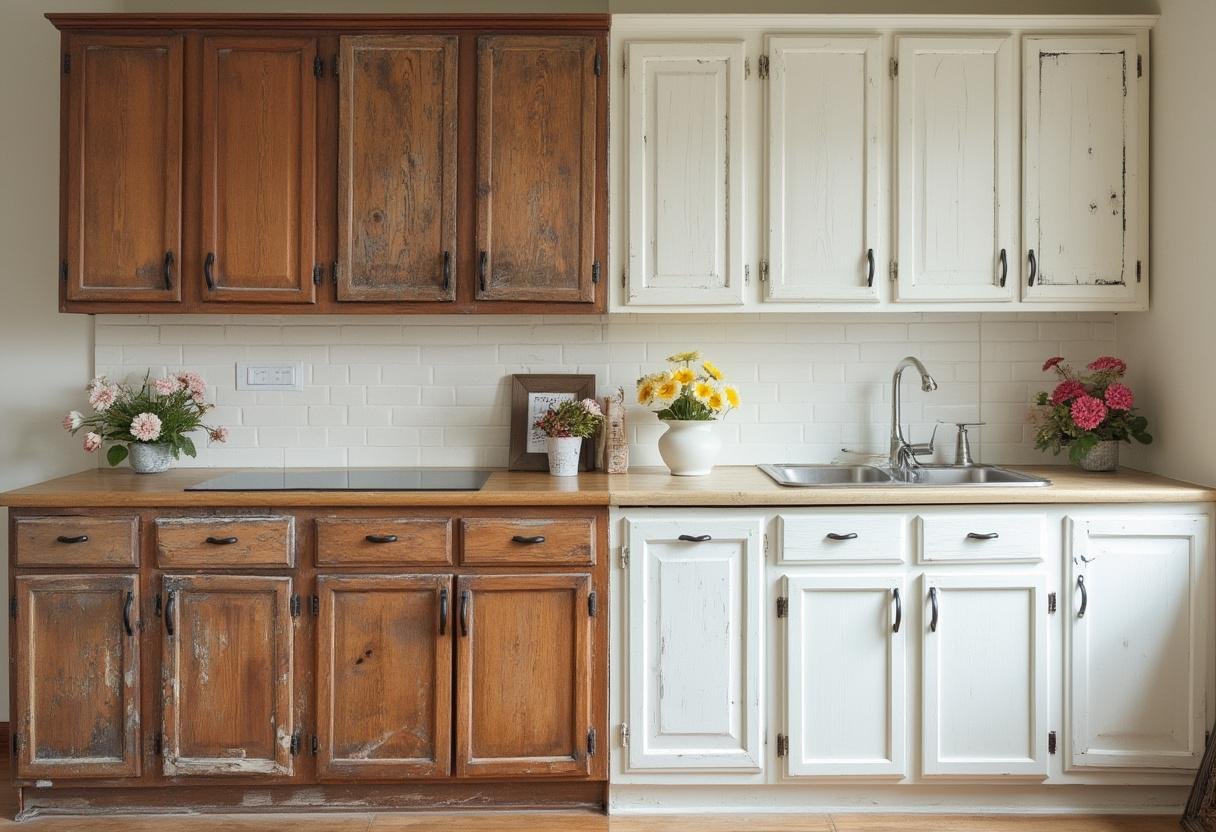
When it comes to updating your cabinets, you have a few options: replacing them, refinishing them, or covering them. While replacing cabinets can be expensive and time-consuming, and refinishing requires sanding, priming, and painting, covering your cabinet doors offers a middle ground that’s both budget-friendly and beginner-friendly.
Here’s why cabinet door covering is a game-changer:
- Affordability: Materials like adhesive vinyl, contact paper, and peel-and-stick wood veneer are significantly cheaper than buying new cabinets.
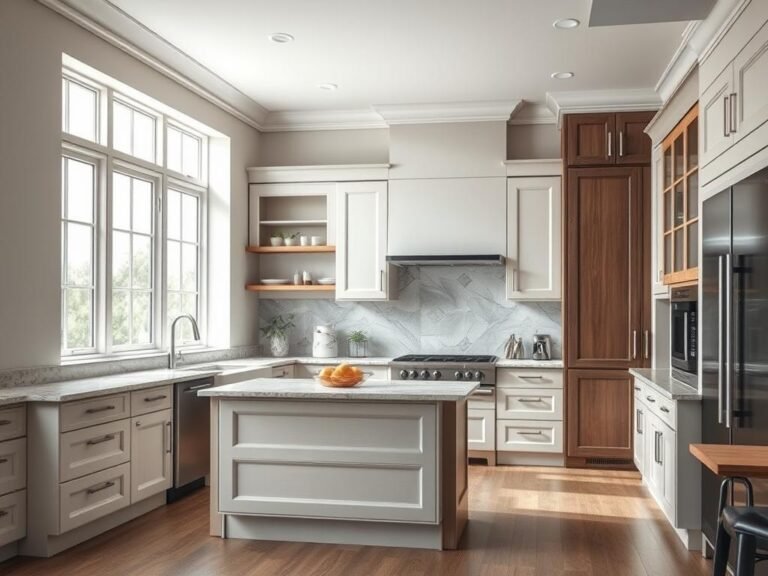
- Versatility: Whether you’re going for a modern minimalist look, a rustic farmhouse vibe, or a sleek, glossy finish, there’s a material and style to match your vision.
- Beginner-Friendly: No prior DIY experience? No problem! Cabinet door covering is a low-risk project that’s easy to tackle, even for first-timers.
- Renter-Friendly: If you’re renting, covering your cabinets is a great way to personalize your space without making permanent changes.
Imagine walking into your kitchen and seeing cabinets that look brand new—all without the hassle of a full renovation. That’s the power of cabinet door covering!
Choosing the Right Material for Your Cabinet Door Covering
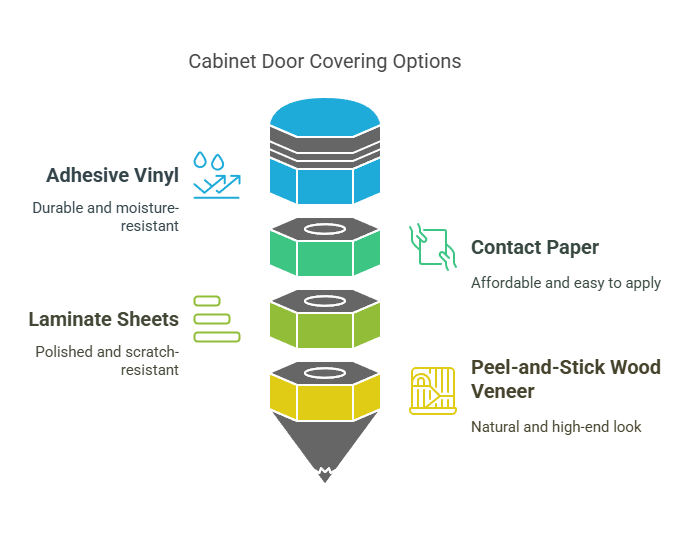
The key to a successful cabinet door makeover lies in choosing the right material. Here are some popular options:
- Adhesive Vinyl: Durable, easy to clean, and available in countless colors and patterns, adhesive vinyl is a favorite for DIYers. It’s perfect for high-humidity areas like kitchens and bathrooms.
- Contact Paper: Affordable and easy to apply, contact paper is a great option for renters or those on a tight budget. It comes in a variety of designs, from marble to wood grain.
- Laminate Sheets: If you’re looking for a more polished finish, laminate sheets are a great choice. They’re durable and resistant to scratches and stains.
- Peel-and-Stick Wood Veneer: For a natural, high-end look, wood veneer is a fantastic option. It’s easy to apply and gives your cabinets a timeless appeal.
Pro Tips for Choosing Materials:
- Consider the humidity and wear-and-tear in your space. For example, kitchens and bathrooms need moisture-resistant materials.
- Test a small sample piece before committing to a full project. This will help you ensure the color and texture match your vision.
- Shop around for deals at local hardware stores or online marketplaces like Amazon or Etsy.
Measuring and Preparing Your Cabinet Doors
Before you start applying your chosen material, it’s crucial to measure and prep your cabinet doors properly. Here’s how:
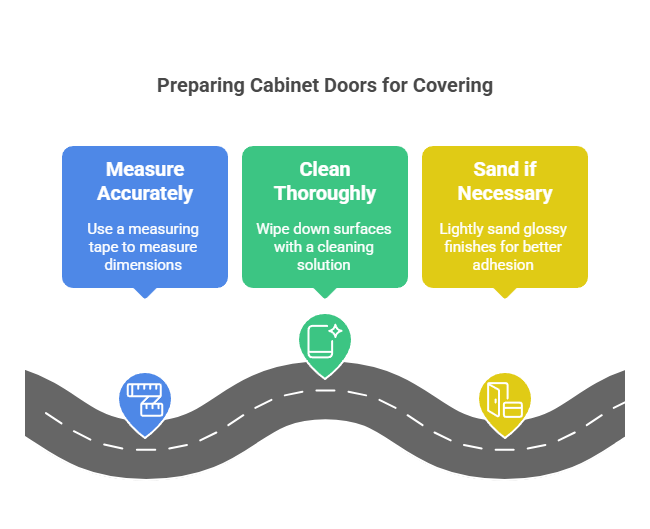
- Measure Accurately: Use a measuring tape to measure the width, height, and edges of each cabinet door and drawer. Don’t forget to account for any handles or knobs. Write down the measurements and double-check them to avoid mistakes.
- Clean Thoroughly: Wipe down your cabinet doors with a cleaning solution to remove grease, dirt, and grime. This ensures the covering adheres properly.
- Sand if Necessary: If your cabinets have a glossy finish, lightly sand them to create a surface that the adhesive can grip onto.
Tools You’ll Need:
- Measuring tape
- Cleaning solution
- Sandpaper (if needed)
- A pencil and paper for noting measurements
Applying the Covering for a Flawless Finish
Now comes the fun part—applying your chosen material! Follow these steps for a professional-looking finish:
- Cut the Material: Using your measurements, cut the material slightly larger than the cabinet door. This allows for adjustments during application.
- Start Applying: Peel off the backing and start applying the material from one edge of the cabinet door. Use a smoothing tool (like a squeegee or credit card) to press out air bubbles as you go.
- Trim the Edges: Once the material is applied, use a utility knife to trim the excess along the edges for a clean, seamless finish.
Tips for Success:
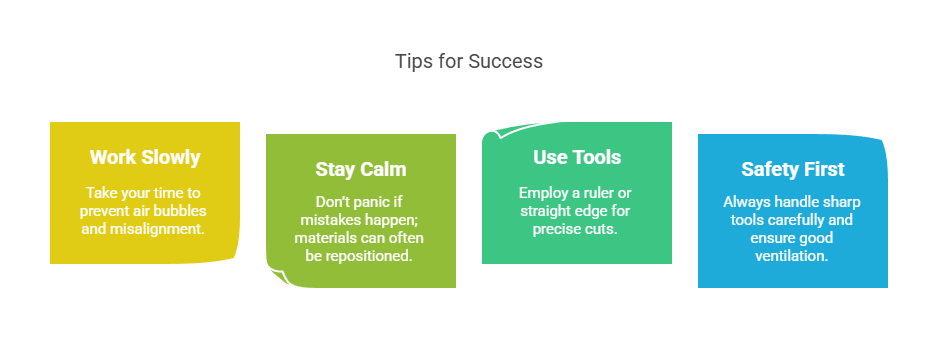
- Work slowly to avoid air bubbles and misalignment.
- If you make a mistake, don’t panic! Most materials can be repositioned during application.
- Use a ruler or straight edge to guide your cuts for precision.
Safety Note: Always handle sharp tools like utility knives with care, and work in a well-ventilated area when using adhesives.
Finishing Touches and Maintenance Tips
Once your cabinet doors are covered, it’s time to add the finishing touches:
- Seal the Edges: Depending on the material you’ve used, you may want to seal the edges with a clear sealant to prevent peeling.
- Upgrade Hardware: Swap out old handles or knobs for sleek, modern ones to give your cabinets an extra flair.
- Maintain Your Makeover: To keep your cabinets looking fresh, clean them gently with a soft cloth and avoid abrasive materials.
With proper care, your cabinet door transformation can last for years, giving you a beautiful space you’ll love spending time in.
Conclusion
Transforming your cabinets with a simple door covering is one of the easiest and most affordable ways to refresh your space. Whether you’re a DIY newbie or a seasoned pro, this project is within your reach. By following the steps in this guide, you’ll achieve a flawless finish that makes your kitchen or bathroom feel brand new.
Remember, mistakes are part of the learning process, so don’t be afraid to give it a try. As the saying goes, “A small change can make a big difference in how your space feels.”
Ready to start your cabinet makeover? Share your before-and-after photos on social media and tag us—we’d love to see your creativity in action! And for more DIY tips and material recommendations, visit our website.